background image
<< Handling Error Messages | Mapping a Changed Region >>

Mapping New Builds

Developing and Working with the Application Map
4-66
Mapping New Builds
We recommend that you map each new build of the AUT if the user interface of the
AUT has changed. This ensures that the application map reflects changes made since
the previous build and improves the quality of the scripts that Pilots generate.
If several regions of the AUT have changed since you last mapped it, remap it using
StartAUT as the starting object. If only a small region of the AUT has changed, you
can remap just the changed region using the Application Mapper Wizard or the
Map It! shortcut.
Mapping a Changed Region of the AUT Using the Map It! Shortcut
To map a changed region of the AUT using the Map It! shortcut:
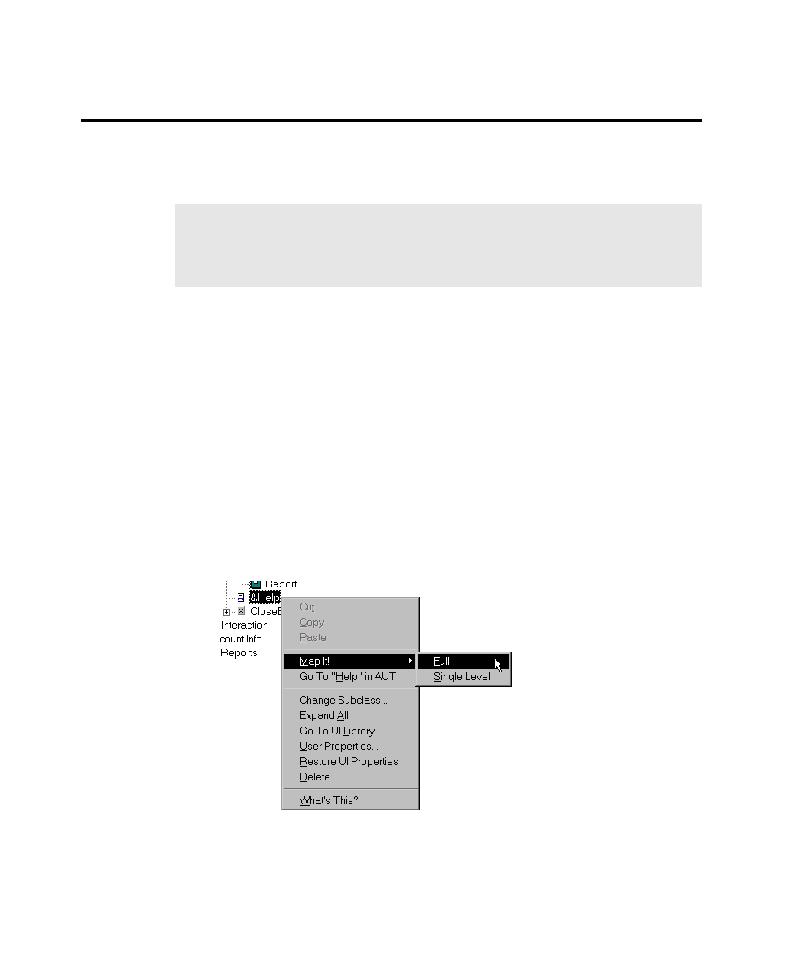
1. In the application map, right-click the top UI object in the branch that
corresponds to the changed region of the AUT. For example, if a group box
control contains options that have changed, right-click the group box object in
the application map. This is the starting object for mapping.
2. To start mapping, point to Map It! on the shortcut menu, and then click Full or
Single Level to indicate depth of mapping.
NOTE: Be sure to instrument and rebuild the executable file for each new build
of the AUT before you map it. If you added the ActiveX Test Control to the
previous build of the AUT, be sure to add it to all subsequent builds before you
instrument.