<< Bitmap Tool -Capturing the Zoom window in scan mode | Bitmap Tool - How to create a mask that excludes all differences >>
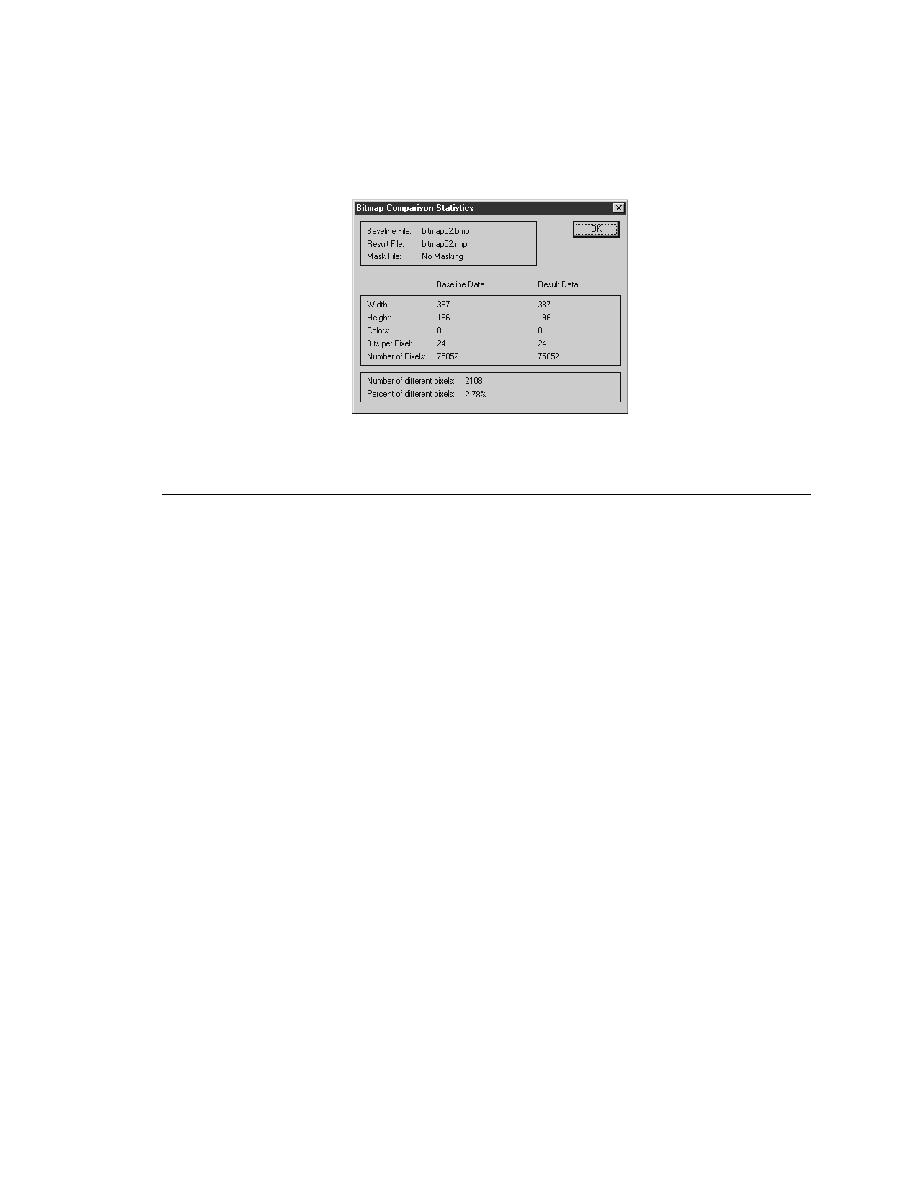
Bitmap Tool - Creating and applying masks
<< Bitmap Tool -Capturing the Zoom window in scan mode | Bitmap Tool - How to create a mask that excludes all differences >>
number of colors = 2 ^ (bits per pixel).
to exclude any part of a bitmap from comparison by the bitmap tool. For
example, if you are testing a custom object that is painted on the screen and
one part of the object is variable, you might want to create a mask to filter out
the variable part from the bitmap comparison.
you to examine on screen only, or applied to and saved in the baseline and
result bitmap files. Once masks are applied and saved, they become a
permanent part of the baseline and result bitmaps. The advantage of saving
the mask alone is that later you can read in the mask file and apply it to the
bitmap on screen, thus allowing you to keep the bitmap in its original state.
baseline bitmap file) as an argument to SilkTest's bitmap functions.
you can designate a mask in the file name and use the generic .bmp
extension. We recommend, however, that you use the .msk extension.
CompareBitmap, VerifyBitmap, and WaitBitmap -- accept mask files as
arguments.